As is customary, I have a video of the downstairs bathroom. We have not put up a shower curtain and am not sure if we are going to put a shower in but for now the bathroom is complete.
Tuesday, December 6, 2011
Sunday, December 4, 2011
Remember that Maple tree?
If you go back through my earlier posts (in particular the Sept, Oct, and Nov of 2010) you will see posts on the huge maple tree that we took down because of its proximity to the house. We have pondered on the what to do with the wood. It's a hard maple and we didn't want to see it cut up for firewood. Since it is burled we figured that the wood would make a nice table top or something like that. We found someone who would mill the wood for us but before we sent it to be milled we were contacted by a man who turns wood. So...this is where the story begins. First a picture of the original tree:

The person who contacted us is Lin Sturgeon. Lin and his friend seemed very interested in the tree so I let them take a small stump to work with and see what they could make out of it. Lin told me that he would probably not get to it until the first of the year, but I guess he got excited because he brought two bowls back to us on Friday. I also made a deal with them, they were interested in the stump that is still in the ground so I told them they could have it if they removed two other stumps for me. They started but the saw was not working so they will be back this week. So here is the stump (FYI they are using a 36" bar on the saw):


But I'm sure you want to see the bowls, right?

I am amazed at what nature can do that man cannot. The next four pictures are of the same bowl, just different sides of the bowl:


The second bowl is from the same section of the tree...maybe 12" from the wood of the first bowl. Even the worm holes add character to the finished bowl:


So we have come to the conclusion that the tree should become art. We wanted to have a part of the tree in the house since it would have been here when the Halls (the family that built our house) lived here. Lin estimated that the tree is more than 150 years old which would make it pre-civil war. Glad we waited before we did anything with the tree.

The person who contacted us is Lin Sturgeon. Lin and his friend seemed very interested in the tree so I let them take a small stump to work with and see what they could make out of it. Lin told me that he would probably not get to it until the first of the year, but I guess he got excited because he brought two bowls back to us on Friday. I also made a deal with them, they were interested in the stump that is still in the ground so I told them they could have it if they removed two other stumps for me. They started but the saw was not working so they will be back this week. So here is the stump (FYI they are using a 36" bar on the saw):


But I'm sure you want to see the bowls, right?


The second bowl is from the same section of the tree...maybe 12" from the wood of the first bowl. Even the worm holes add character to the finished bowl:


So we have come to the conclusion that the tree should become art. We wanted to have a part of the tree in the house since it would have been here when the Halls (the family that built our house) lived here. Lin estimated that the tree is more than 150 years old which would make it pre-civil war. Glad we waited before we did anything with the tree.
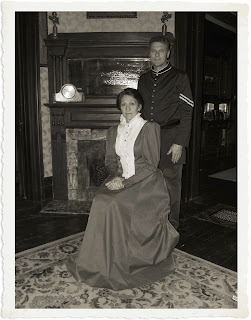
Halloween fun
We were invited to a Halloween party this year...so Chris decided that it might be nice if we dressed like George and Rachael Hall. Since George was a corporal in the Union army during the Civil War Chris made an Union army officer's jacket for me. She also sewed an old fashion dress for herself. The amazing thing is that she did both in less than two days. I truly have an amazing wife.

Friday, November 11, 2011
Making Do! (from the Mrs.)

Sometimes we think we need to make a purchase
and then realize that we already have something that
work will work just fine...with a little creativity!
Here are two examples.
First the door. On the left is the old bathroom door.
It had never been painted and was so unsightly that
I could only find a partial picture of it. We REALLY
thought we would need to replace this door. Then
Richard came up with a great idea of using some of
our left over wallpaper to dress up the panels. I primed
painted and after it completely dried added some
paintable wallpaper using wallpaper paste. Caulked
the edges to give a sealed look and then added
two coats of paint to the wallpaper and caulk.
This is now my favorite door.


Next we have the clock! I searched and searched for a clock to put in our newly finished bathroom downstairs but nothing seemed to fit into the decor and color scheme we had used. Then I realized I could remake one of our old plastic clocks circa 1985. It's been a great clock all of these years but kinda modern looking for an 1892 Victorian.
I found directions online for how to do this. I had never done it before but had always wanted to try.
I removed the battery and carefully lifted off the
hands being sure to keep them in the proper order.
Next came the paint. I chose a copper hammered enamel, that we already had, because I wanted the
finished look to have some texture to it.

Below is the clock after lightly brushing on the black satin paint.


to use some photoshop magic to create an elephant to place onto the face of the clock. Printed it on card-stock and cut it out. Of course there was some trial and error with this. I did the first few on draft quality to conserve ink. I also found the yellow face of the clock too bright and wanted to age it a bit. After several experiments found that our grandchildren's watercolors worked the best. I ironed it dry, yes I ironed it. Water going into paper can make it swell and distort. The dry ironing helped to counter act that. I cut it, used some glue, lined up the new face with the old and rubbed it into place for a few minutes. And here it is...before a great 1985 clock and after an aged clock for an older home.

Below is the clock hanging on the bathroom wall.

Sunday, October 23, 2011
Progress Journal of downstair bathroom
It would be nice if all we had to do was wave a wand and poof, everything was nice looking. But since it doesn't happen that way here are the incremental photos of the remodel:
Now - 90% complete


I have a few things to take care of such as the plumbing for the tub. I am grateful for Chris and all the work she has done in the bathroom and for her great decorating skills.
Now - 90% complete


Sunday, August 21, 2011
The changing direction of wind
Wind is interesting, it can change direction at a moments notice. I think restoration work is somewhat like the changing of the wind. A change in events prompts a change in priorities or focus. Such was the case this weekend. A sudden turn of events prompted us to focus on the downstairs bathroom, and of course the events have now changed again. But since we have now committed ourselves to working on the bathroom we will continue with the process. What have we accomplished so far? Well, Chris has mud and taped the ceiling and I worked on removing the old bathtub. When it was time to take the tub out of the bathroom, well that was a two person project. The tub is cast iron. I'm sure that cast iron is a great product but I detest cast iron, especially when it comes to moving it. I am glad that I have a hand cart rated at 1000 lbs and a wife who is willing to help with such difficult projects. (Great - more linoleum!)
So now the bathroom looks like this:


(I didn't want anyone standing on their head to see the foot so I rotated it after I took the picture, thus the objects in the background are upside down).
So now the bathroom looks like this:


And what are we going to replace the old tub with? A claw foot tub that is much older and made of cast iron. I hope it is lighter. Chris worked very hard on removing the rust from the underside of the tub. Then she painted it with an undercoat of black Rustoleum followed by a finish coat of paint. There are some fun details on the feet of the tub.
Here are the results:


Sunday, August 7, 2011
Postscript
I forgot to thank my Honey for all the hard work she has put in. She stripped the paint from the doors and trim and does 99% of the mudding, tapping and prep work on the drywall, which means she makes my drywall hanging mistake magically disappear, or in other words she makes me look good. I am grateful to have such a great restoration partner.
And last but not least
Yesterday I also worked on the greenhouse, until it got to be too hot outside. Everything is ready for the last section to have siding nailed in place. I also added one more section to the roof. The last section of roof will be challenging. Almost ready for the window panels.


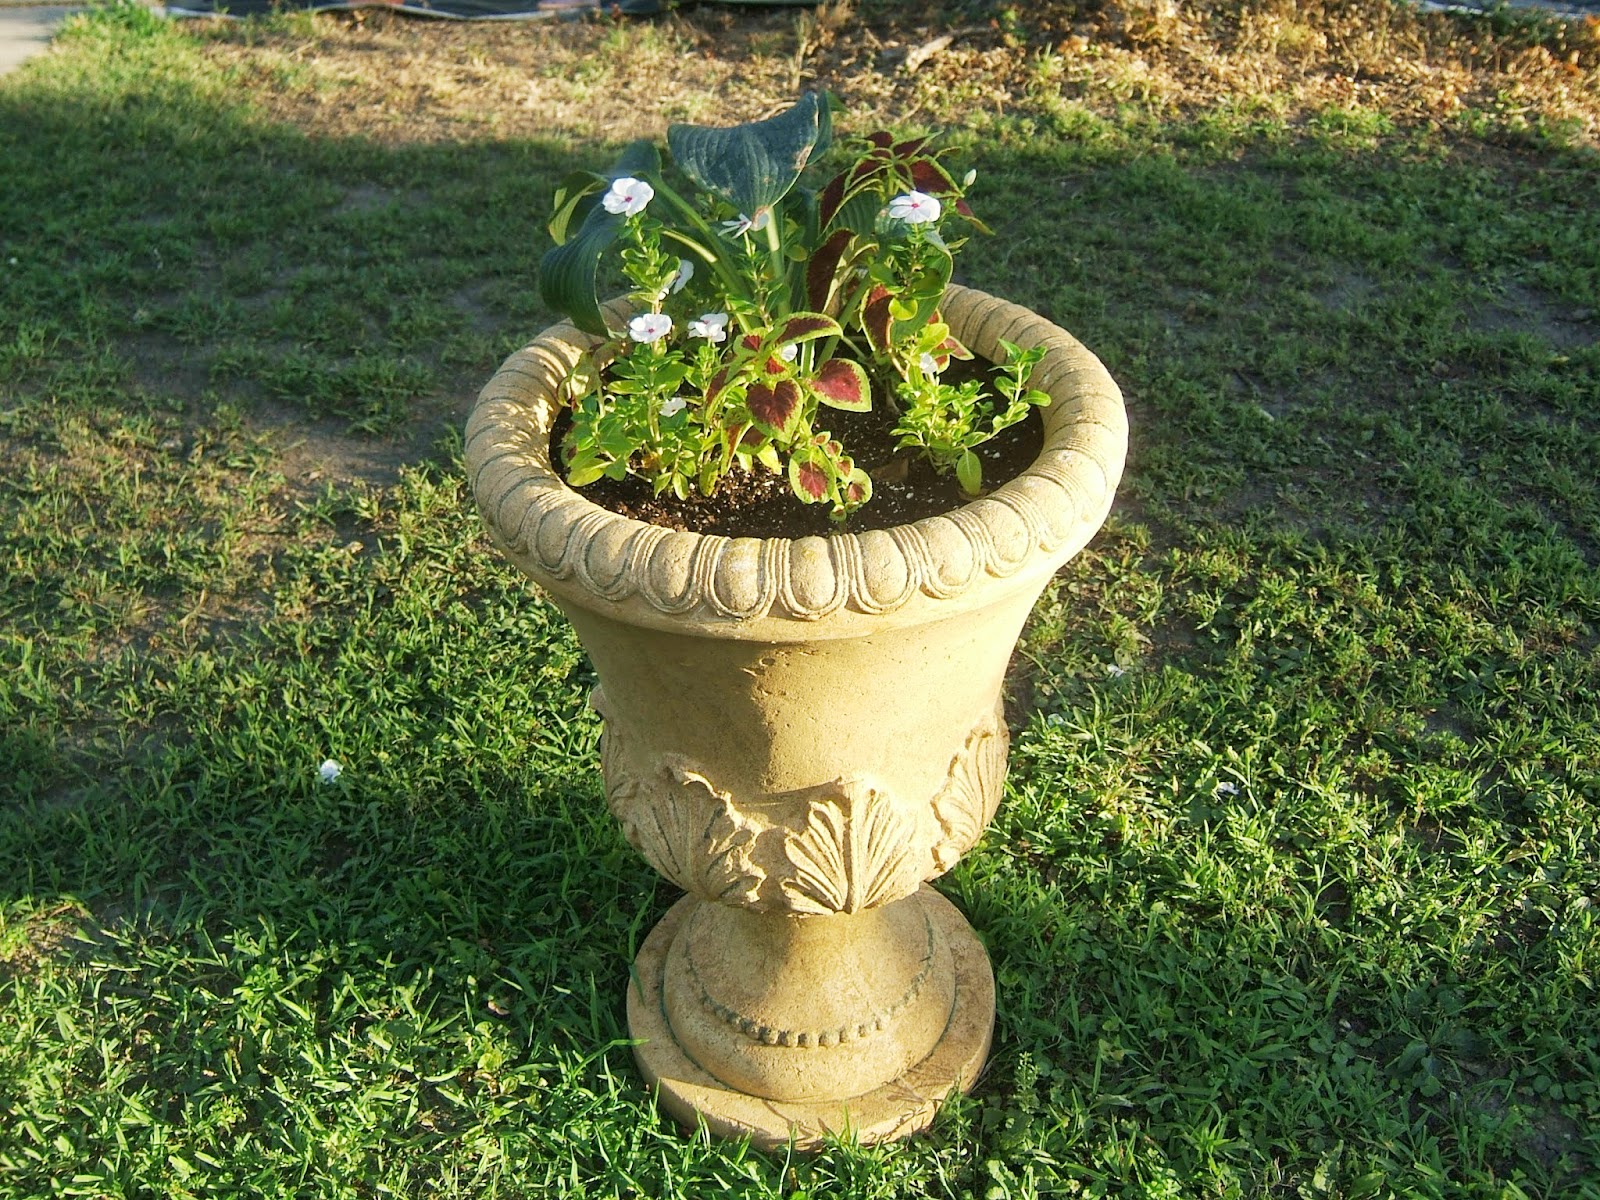
Not everything takes place inside the house
We decided that we needed to do some landscaping this year as well. Nothing major but it does help the yard look a bit better. Not finished yet but here are some of our efforts:


Dilemma
I have pondered over and over as to how to fix the stairs on the side porch. There is at least a two inch drop from the right side to the left. My first thought was that I would have to remove the bricks. This would require a lot of energy, and the bricks would most like be damaged in the process.
So I started thinking, what if I just poured concrete on each stair in such a way as to level them. Then I realized that that would look tacky and most likely would not work. So my next thought was, just leave it the way it is. Yes, that's a good idea, concluding that if anyone said anything about the stairs not being level I would just tell them that they must have a balance problem. Yes, make it their problem by suggesting that they should have a medical checkup.
Finally I returned back to my first thought, just remove the bricks. I experimented with the bottom step and just as I thought, it was a lot of work and the bricks did get damaged. I then used undamaged bricks to relay the bottom stairs. Not finished yet, but will work on the stairs over the summer.

(I didn't have any yellow police line tape so I am using a curtain rod to let people know that they should not use the stairs - as if someone couldn't already figure that out just by looking at the stairs)
Big Deal!
I'm sure some of you would say "Big Deal! Drywall is drywall so why are you taking pictures of drywall?" But for those of us who recognize the work that needs to be done before you can put up the drywall it is a "Big Deal"! The middle chamber (which is the largest of the five chambers or bedrooms - measuring approximately 15'x18' - No I did not take the exact measurements) putting up the last sheet of drywall in the closet represents a milestone in the preparation of the chamber for completion. Prior to putting up the last sheet I had to repair and tuck point the bricks to make the wall sound, then frame out the wall in a unique way to avoid changing the dimensions of the closet. Finally the last sheet went up. As a friend once said "Putting up drywall is satisfying because it covers an area quickly."


So what does the room look like now? Here is the picture of the prep work. I'm showing this picture for those who have never renovated a house or room before. Lest you get the wrong impression, renovation is a messy job, but the rewards far outweigh the mess.

We also found a way to strip the old paint off the doors and trim. Someone had put paint over the existing varnish and stain. We tried many different products as well as heat in an attempt to remove the old paint from the doors and the trim. Finally it was suggested to us that we use a product called "Dad's Easy Spray" which we purchased from Girdner Post & Lumber in Mercer. You spray it on (or in our case brush it on) and in 15 minutes just like magic the paint, varnish and stain start to bubble - then just scrape it off. Now we can prep the doors and trim for refinishing.
Before After


(I know, it's not the same door but this door looked like the "before" door)


Before After


(I know, it's not the same door but this door looked like the "before" door)
Subscribe to:
Posts (Atom)